MARCH 2, 2021 - MAY 2021
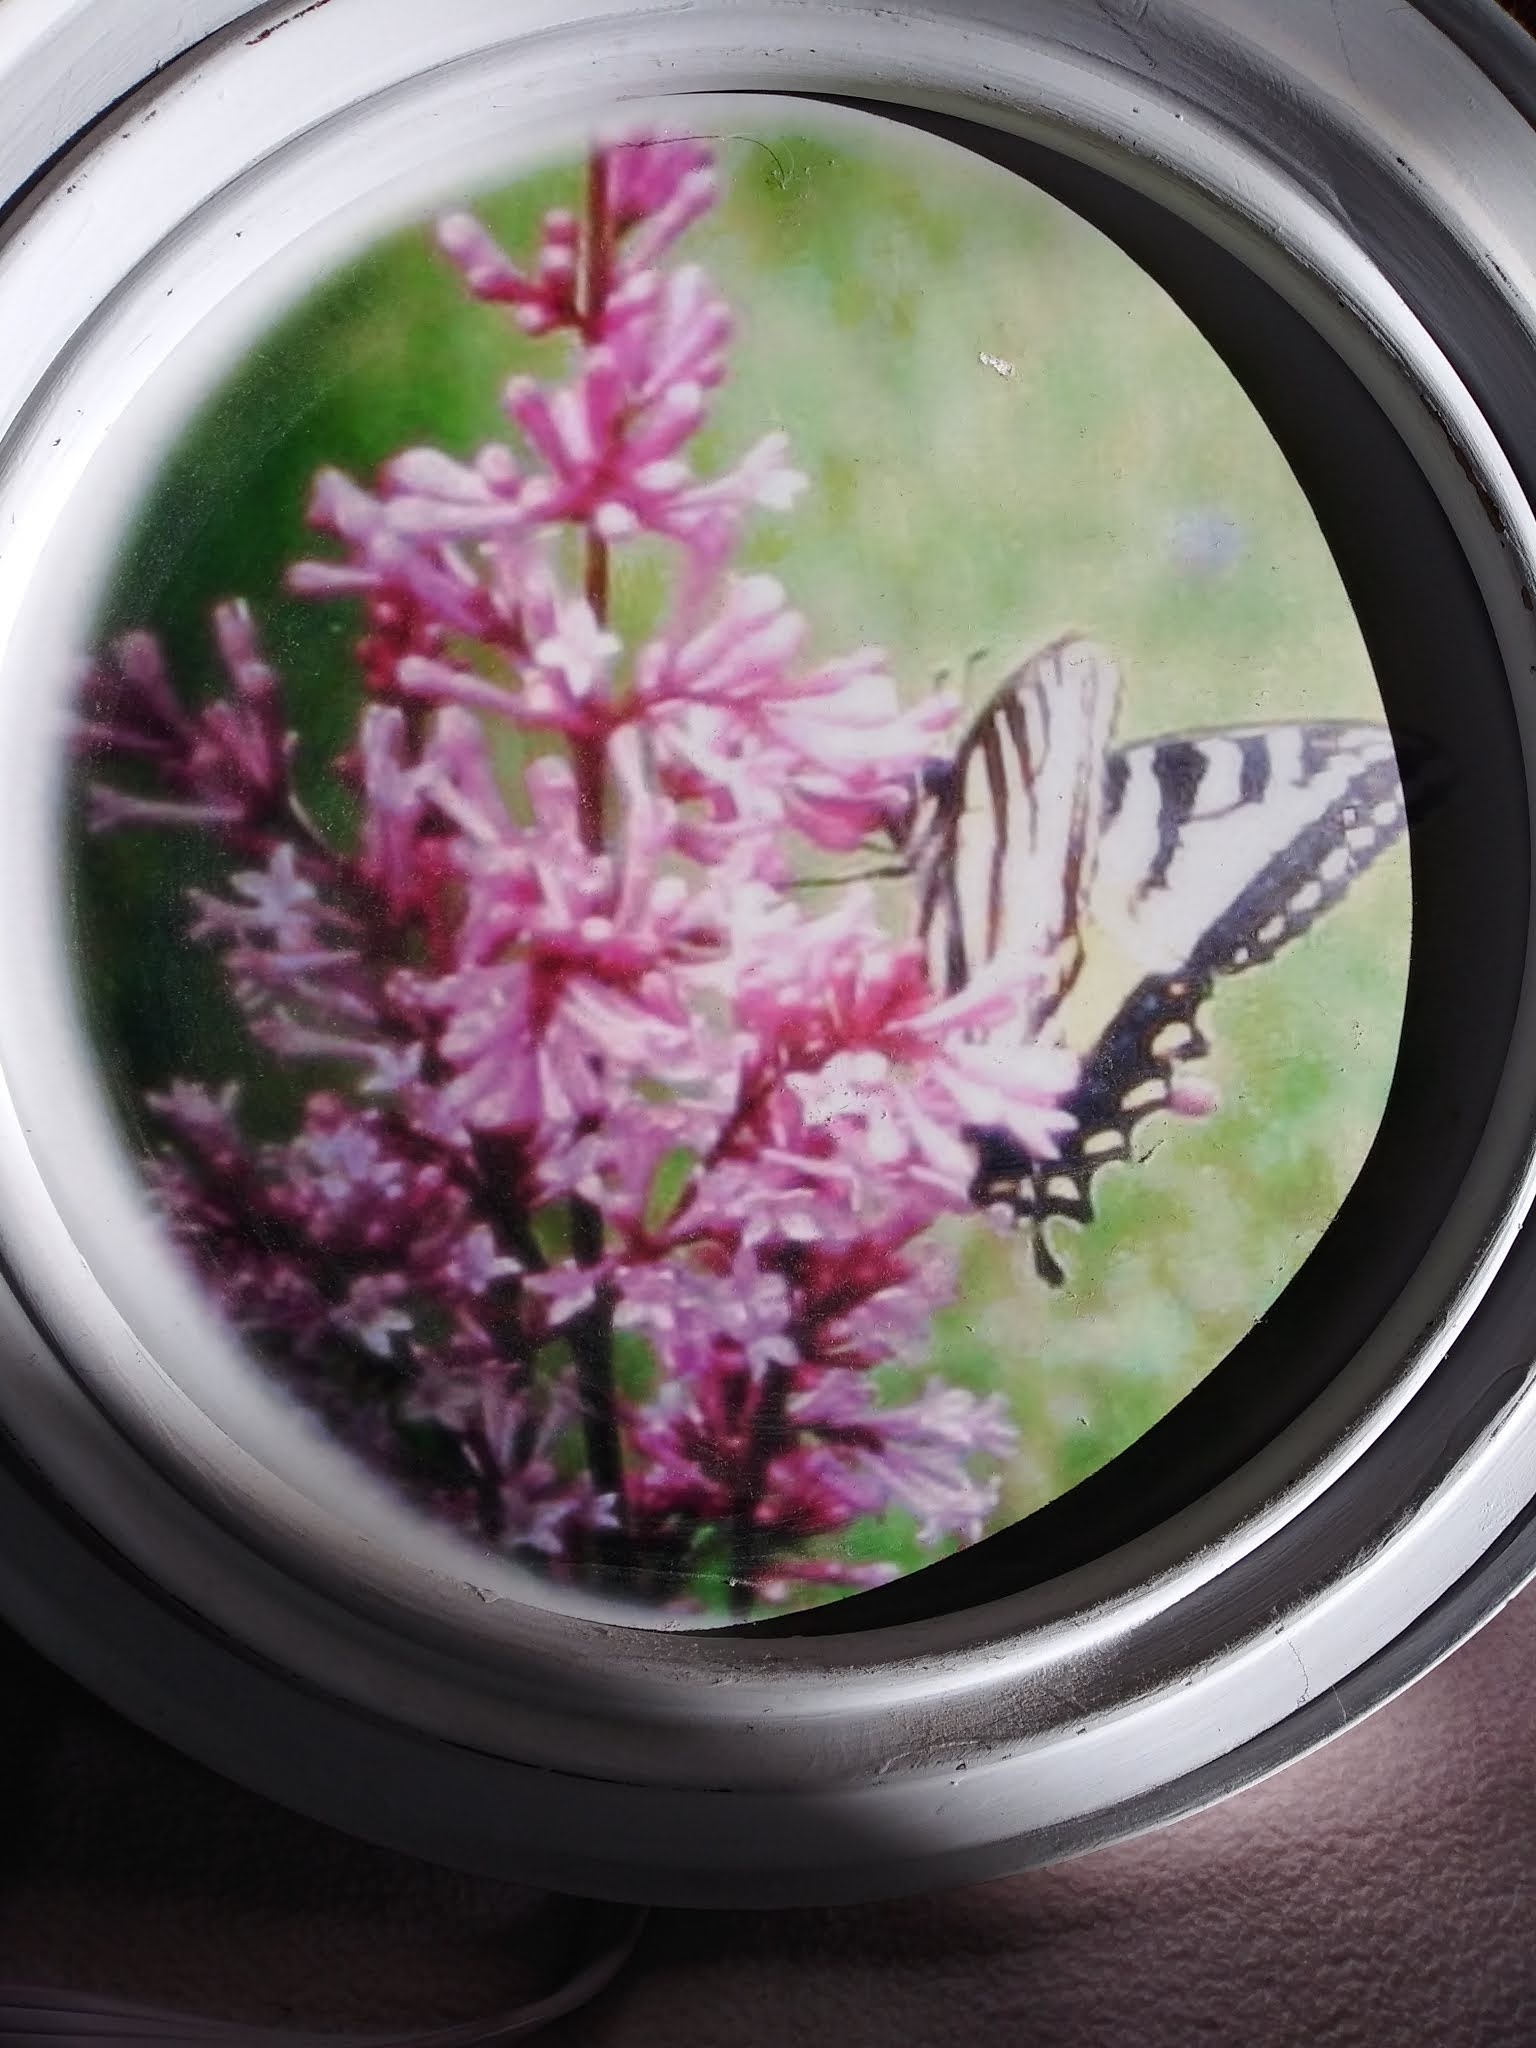
I've loved butterflies since I was a child. I can't imagine not liking butterflies - what's not to love?! Here is one of my early photographs, of a Swallowtail on a pink lilac in my yard. I love this butterfly!

You might guess what I love when you visit my home
One of the first rubber stamps I bought was a butterfly. Here an early card I made, perhaps in the late 1980's, and although I still have the daisy stamp, sadly, I no longer have this butterfly stamp.

So when Stampin' Up announced this new set - Butterfly Brilliance - available to you March 2, 2021 through May of 2021 - I knew it was time to get a new butterfly stamp, or the whole bundle! The products are sold separately, but the bundle includes savings.
There are so many ways to use the Butterfly Brilliance set. Stampin' Up creates beautiful coordinating double-sided papers, making them very versatile to use on their own or with the dies and stamps. Here are the beautiful prints on both sides.
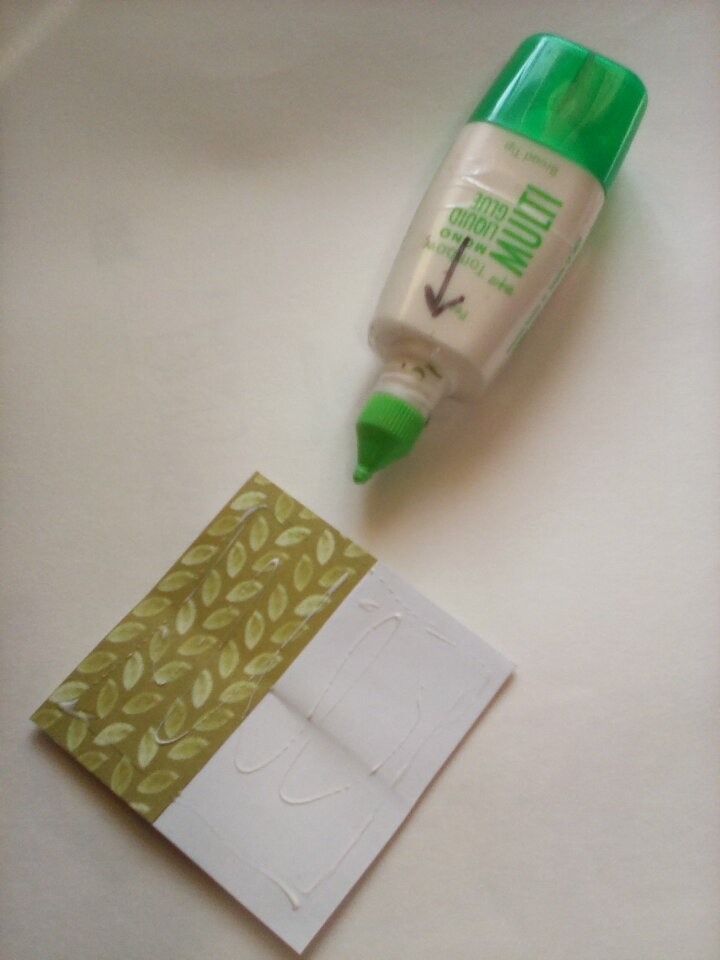
You could use the paper for layering and "fussy cut" a butterfly to embellish, like the card at the top of the page.
The dies, which are connected into one piece, cut the butterflies out of the paper just as they are laid out on these images.
The one large butterfly stamp also coordinates with the dies, plus there are other butterfly dies and those you could use alone or as layering die cuts.
If I didn't own other stamps, but one set, this would be it. The stamp alone, paper alone or combined with the die cuts would make beautiful Happy Birthday, Thinking of You, Sympathy cards, and would be versatile for any person, young or old.
Use the stamp with black ink and color in with water based markers. The first photo shows black ink that has been spritzed with water, stamped on white paper. The next photo is strictly black ink and stamped on white card stock.
You could "paint" the butterfly stamp with water based ink or marker, spritz with water and stamp it on cardstock or water color paper. (Note that alcohol ink markers do not work for a water color effect.)
A die cut machine is needed to use the dies. You can see here how easy it would be to cut the images out as the large die coordinates with the shapes exactly.
Accessories needed are the die cutting machine. Water based ink and markers. Cardstock. Water color paper if you want to try a water color technique by spritzing the stamp with water. There are so many options and opportunities for you to use the Butterfly Brilliance stamps, dies, papers.
Find all the supplies you will need here through May. Watch for updates. The 2021-2022 catalog will be out soon.
If you're a beginner or a seasoned stamper, I'd love to share more of the ideas with you. Of course, you can always find samples of cards on Pinterest and Instagram. And I'd love to see the cards you make with Butterfly Brilliance, so please post them in the comment section.

Thanks for stopping by. Happy Stamping and be blessed! sb